.jpg?cx=1265&cy=0&cw=468&ch=625)
How Do I Install A Gas Water Heater?
Installing a gas water heater means dealing with gas lines, proper venting, and making sure everything meets your local codes. Gas connections require careful attention since improper installation can create serious safety risks. Most homeowners hire a licensed installer to handle gas water heater installation, but understanding the process helps you know what's happening in your home.
All About Water Heater Installation: Learn How To Install Your New Heater
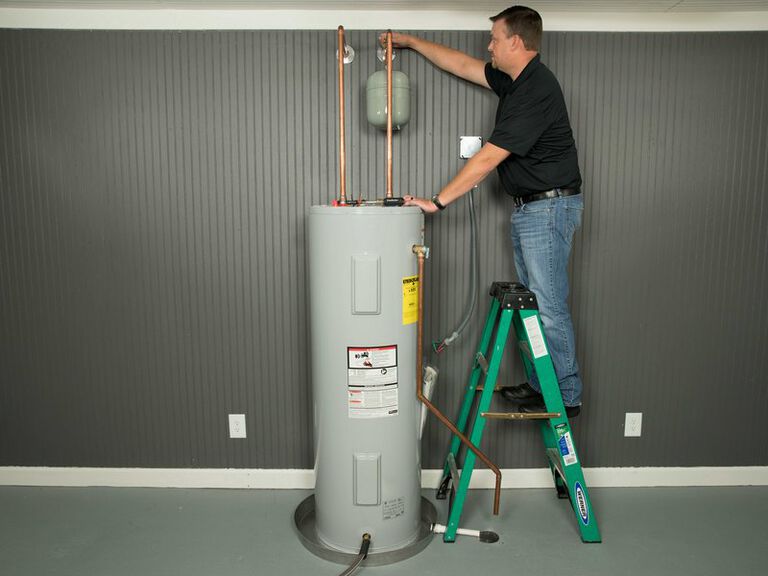
Learn what it takes to replace your water heater, whether you have an electric, gas, or tankless model, and discover why getting professional help for a new water heater installation can save you time, frustration, and, most of all, money.
Your water heater works quietly in the background for 10 to 15 years, delivering hot water for showers, laundry, dishes, and cleaning. Regular maintenance tasks like flushing help keep it running efficiently throughout its lifespan. When it does reach the end of its useful life, it often stops working suddenly—leaving you without hot water and needing a quick replacement. Whether you're installing a gas, electric, or tankless model, understanding the basics of water heater installation helps you know what to expect when a professional handles the job.
Find A Local Water Heater Pro
A. O. Smith water heaters are professionally installed by local independent contractors.
Things to Consider When Installing Your New Water Heater
New water heater installation ensures a reliable supply of hot water to your home, but safety takes top priority during the process. Whether you’re preparing for electric, gas or tankless water heater installation, take these important factors into consideration.
Water Heater Removal
Before you remove your old water heater, look in the manual for details about safe disconnection and removal. Likewise, examine all labels on the appliance for additional information. Once you understand the removal process, keep in mind you may need specialty tools.
Electrical Updates
If you’ve had your water heater a long time, your home may require electrical updates to handle the new unit's voltage and amperage, so consider whether the new and old specifications match. If they don’t, you need to upgrade your electrical system to prevent accidents and overloads.
Wiring and connectivity may also be an issue with new water heater installation, requiring an experienced hand to perform meticulous tasks. Since incorrect wiring may lead to fires, short circuits and electrocution risks, it’s best to use a professional for water heater installation when you need electrical issues corrected.
Fuel Source Conversion (If Necessary/Desired)
If you have an electric water heater currently and are switching to a gas water heater installation, consider the extras that go into the process. For instance, if you don’t have a gas line to your water heater location, you need a professional gas fitter to perform the installation to prevent explosions, fires or gas leaks.
Proper ventilation matters for gas water heater installation as well, ensuring safe gas expulsion from your home. This means your home needs adequate ventilation for the appliance, so it may require modifications before gas water heater installation.
Cost of Labor, Materials and Parts
Though you naturally want to save money on water heater installation costs, never compromise on safety. Paying a professional the labor cost to install a water heater is worth it if you’re not confident in your DIY skills or the installation requires skills outside your wheelhouse.
Likewise, when setting your budget for parts and materials, invest in a high-quality unit that’s well suited to your home rather than picking the cheapest option. Top-notch units, parts and materials help minimize risks of leaks and malfunctions for peace of mind in your water heater installation.
Permits and Inspection
Municipal regulations for water heater installation vary, but many require permits and inspections to comply with building codes and safety standards. Your local building department should have the information you need when you get a permit. Then, after you finish, you may have to schedule an inspection to confirm safe water heater installation.
Professional vs. DIY Installation
The biggest decision you face at the beginning of the water heater installation process is deciding if you should go the DIY route or hire a professional installer. Hiring a pro is often your best bet when it comes to safety. These professionals have expertise dealing with gas lines, water lines, and electricity, plus they have the tools necessary for almost any occurrence, whether it’s for a gas tank, electric tank or tankless water heater installation. And even with water heater installation support, you may save money now, but end up paying more later if issues arise from an unsafe setup. Always install any water heater by referring to the installation manual.
Benefits of Professional Installation
While you might be tempted to DIY, enlisting a professional installer ensures safe water heater installation by an expert with the tools and time to handle the task.
Safety
Professional installation means using skilled technicians well-versed in regulations and safety protocols — plus the specifications of various water heater models. If you need gas water heater installation, professionals prevent potential hazards with gas leak detection and ensure your home has proper ventilation to remove harmful gasses like carbon monoxide. Local installers are also familiar with the area’s building codes, so they handle permitting and inspections.
Expertise
Handling the complexities of water heater installation requires technicians with lots of training and experience. This expertise also simplifies troubleshooting when unexpected issues or complications arise, letting them diagnose and fix problems quickly. Professional water heater installation may also future-proof your home since professionals advise you on sizing your water heater to match your home.
Not sure which water heater is the best fit for your needs? Get started with our water heater selector to find the right model for your home.
Tools
Licensed installers have the tools and equipment to handle gas, tankless, or electric water heater installations. They come prepared with proper sealing and insulation materials to minimize heat loss and improve energy efficiency. Using the correct tools and techniques helps make sure your installation is done safely and correctly, reducing the risk of future problems.
Time
Professional water heater installation saves you time and hassle. Trained installers work efficiently thanks to years of hands-on experience, which means less disruption to your daily routine. Get your hot water running quickly and correctly—find an installer to handle your water heater installation.

Find A Local Water Heater Pro
A. O. Smith water heaters are professionally installed by local independent contractors.
Before You Begin Installing Your Water Heater
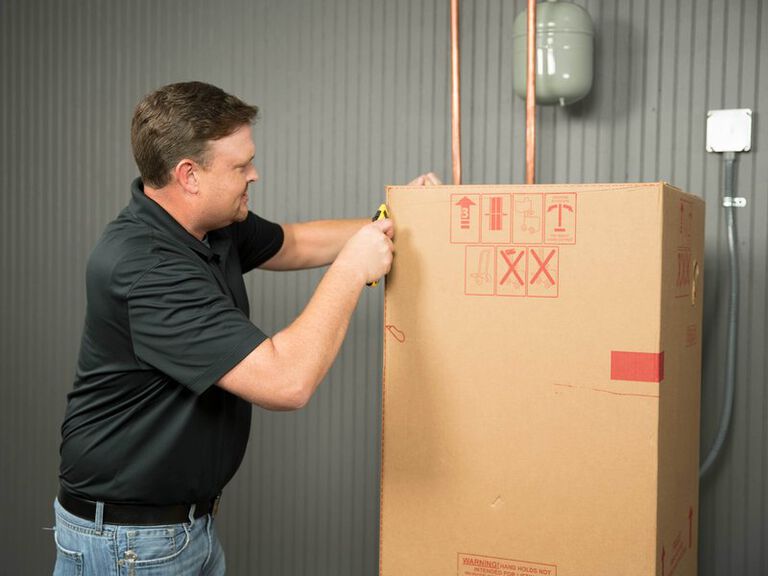
Before you start, take time to assess whether this is a project you can safely handle yourself. Installing a water heater involves working with electricity or gas, plumbing connections, and local building codes. If you're not confident in any of these areas, hiring a licensed installer is the safer choice.
Safety First
Water heater installation involves real risks—electrical shock, gas leaks, and water damage can all result from improper installation. If you have any doubts about your ability to complete the job safely, contact a professional installer who has the training and experience to do it right.
Have the Right Tools
Make sure you have all the necessary tools before you begin, including pipe wrenches, a voltage tester, tubing cutters, and appropriate sealants. Lay out your tools within easy reach so you're not scrambling mid-installation. Missing an important tool or unsure what you need? That's a good sign it's time to bring in an expert.
Check the Specs
Your home's electrical system needs to support your new water heater's power requirements—check the voltage and amperage in your installation manual against your home's electrical panel. Measure your installation space carefully to confirm the unit will fit, accounting for required clearances around the heater. Review the manufacturer's installation instructions thoroughly before starting, or let a licensed installer handle the technical requirements.
How To Install an Electric Hot Water Heater
This step-by-step is a basic guide that walks you through electric water heater installation. Follow each step correctly and mindfully to ensure a safe setup. Always refer to the installation manual provided with a water heater. These instructions do not replace the printed instructions that come with the water heater or professional installation.
Removing The Old Electric Hot Water Heater System
Remove your old hot water heater installation with this step-by-step guide.
Step 1: Turn Off the Associated Breaker
First, turn off the breaker associated with your old water heater or remove its fuses. Open the access panel on your old water heater to get to the electrical junction box, then use the noncontact circuit tester to ensure the unit is powered down.
Step 2: Run the Hot Water Until Cool
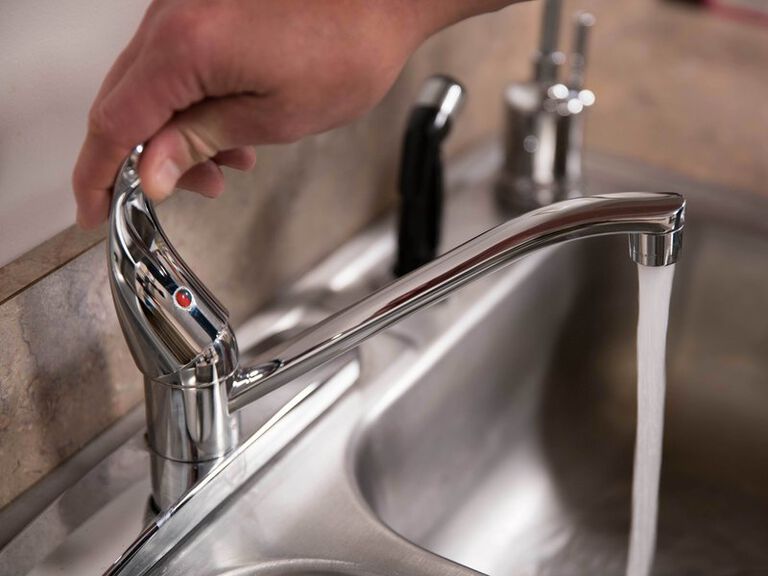
Before you drain your old unit, open a hot water faucet and let it flow until the water runs cool. This typically takes 10-plus minutes, but it's a necessary step to prevent scalding.
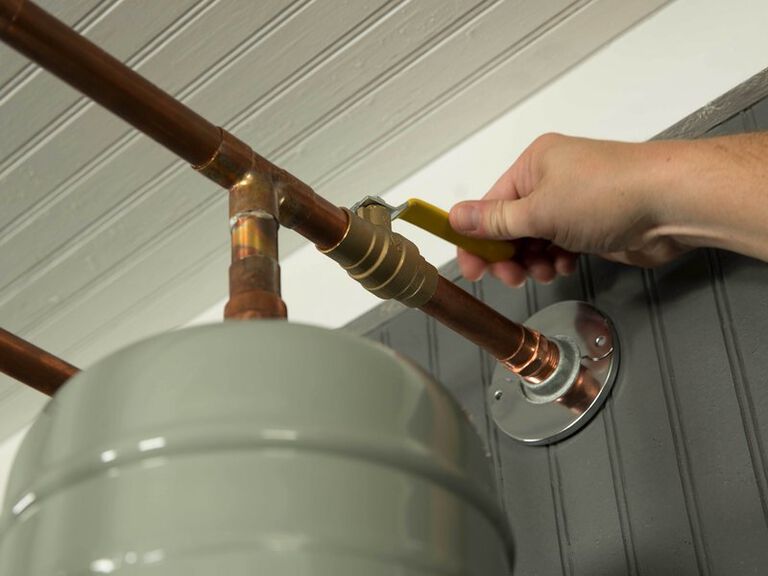
This image is only being used as example and may not reflect the specific unit or part that you may be troubleshooting.
Step 3: Shut Off the Water Supply
Since you don't want the tank to refill again before you drain it, shut off the water supply to the water heater. Also, turn off the unit's cold water supply.
Step 4: Disconnect Electrical Supply
Locate the wire nuts that connect the appliance service wire to your home's power wires, then unscrew them. Next, find the water heater's green ground screw and disconnect the ground wire. Lastly, remove the electric cable, disconnect the strain relief and use wire nuts to cap off your home's power wires.
Step 5: Drain the Tank
Connect a garden hose to the drain valve on your water heater, take the other end outside or put it in a sink, tub or bucket, then open the water heater's drain valve. Help this process along by turning on a hot water faucet for faster water heater drainage. Sediment buildup in the bottom of the tank sometimes prevents proper drainage, and in instances when tanks don't completely drain, you may need professional help. (Learn more about How to Drain a Water Heater)
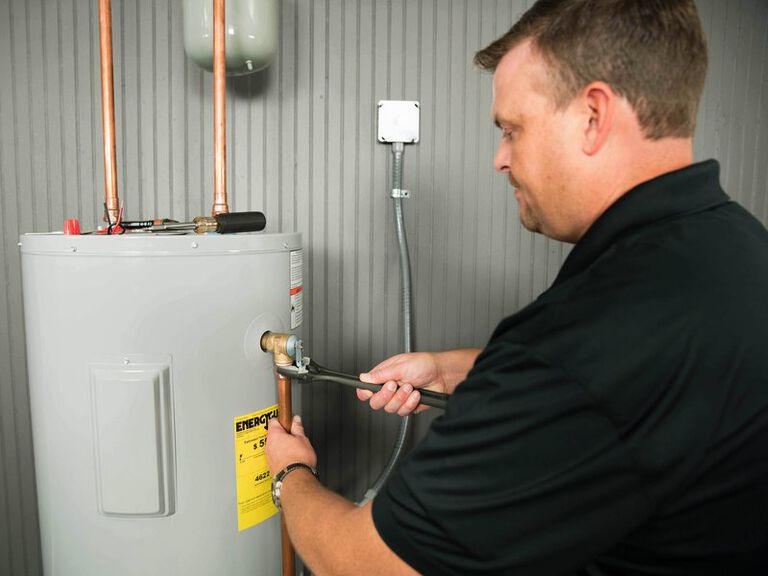
This image is only being used as example and may not reflect the specific unit or part that you may be troubleshooting.
Step 6: Remove the T&P Valve and Discharge Pipe
Next, disconnect the temperature and pressure (T&P) relief valve and discharge pipe. If it's in good shape, you can salvage the discharge pipe for your new water heater installation but never reuse a T&P relief valve. Your new water heater, however, should come with a new one.
Step 7: Disconnect the Water Lines
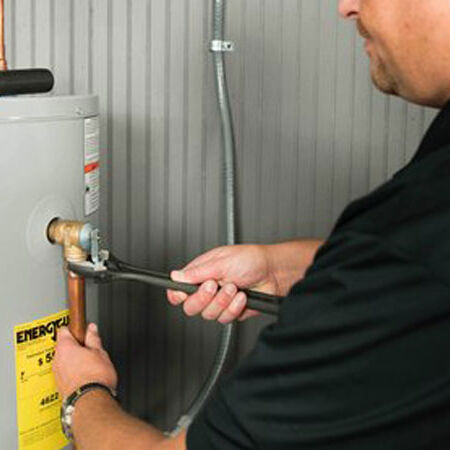
Disconnect both water lines by using a wrench. If you have compression fittings, cut them close to the water heater so you can easily connect them to your new unit. (Read more about How to Light a Pilot Light)
Step 8: Remove and Dispose of the Old Heater
Once everything's disconnected, pull in the hand truck or appliance dolly to remove your old water heater. These units are usually heavy, so be sure you have someone else there to help you.
Steps To Install Your Electric Hot Water Heater
Installing an electric water heater is straightforward when you follow the right steps. Make sure you have the proper tools and permits before you begin, and consider hiring a licensed professional if you're not comfortable working with plumbing and electrical connections.
Step 1: Position Your New Water Heater
Place your new water heater in its designated spot and make sure it sits level on the floor. Take off any protective covering and check the unit for damage during shipping. Position it close enough to your plumbing connections for easy hookup, and leave enough space around the unit for maintenance and proper airflow.
Check your manufacturer's instructions for specific clearance requirements—heat pump models need at least 450 cubic feet of air space for proper operation.
Step 2: Connect the Plumbing and Electrical
Before you start, turn off the electrical supply to the area at your circuit breaker. Here's what you need to connect:
- Plumbing Connections: Attach the cold water supply line to the inlet on top of the tank and connect the hot water outlet line to the outlet fitting, wrapping plumber's tape around the threads to prevent leaks. Make sure you have a properly sized and charged expansion tank if you have a closed plumbing system.
- Electrical Connections: Remove the access panel to expose the electrical terminals, connect the power wires to the heater's terminals using wire connectors while matching wire colors as shown in your installation manual, attach the ground wire securely, then replace the access panel.
Step 3: Fill the Tank and Power It On
Never turn on an empty electric water heater, as this can damage the heating elements. Fill the tank by opening the cold water supply valve and opening several hot water taps throughout your home. Let water run until you get a steady flow without air bubbles—this means the tank is full.
Once the tank is completely filled, close the hot water taps and turn on the circuit breaker for the water heater. Set the thermostat to 120°F for a good balance between energy savings and hot water availability (you can adjust up to 130°F if needed).
The water heater will take 1-2 hours to heat the first tank of water.

Find A Local Water Heater Pro
A. O. Smith water heaters are professionally installed by local independent contractors.
How To Install a Gas Hot Water Heater
This image is only being used as example and may not reflect the specific unit or part that you may be troubleshooting.
Gas water heater installation often proves more complex than electric water heater installation — and more dangerous! This is because you're working with gas lines, and only experienced professionals can do this safely. If you want to DIY the process, though, these steps can help you. Always refer to the printed instructions when installing a water heater or hire a professional installer. This is a basic guide and not a replacement for the printed instructions included with the water heater or professional installation.
Removing The Old System
Use these steps to remove your old system before the new hot water heater installation.

This image is only being used as example and may not reflect the specific unit or part that you may be troubleshooting.
Step 1: Run Water Until It's Cool
Drain the tank of all hot water by turning on a hot water tap. This takes approximately 10 minutes, but it reduces risks of scalding.
Step 2: Turn Off the Water Heater and the Gas
Turn off your water heater via the gas control valve, then turn off the main gas supply valve. Next, break the union between the gas lines with two wrenches, then cap the gas line and remove the gas pipe from the control valve on your water heater.
Step 3: Shut Off the Water Supply
Turn off the hot and cold water supply lines to your water heater, then connect a garden hose to your drain valve and take it outside, put it in a bucket or place it in a sink or tub.
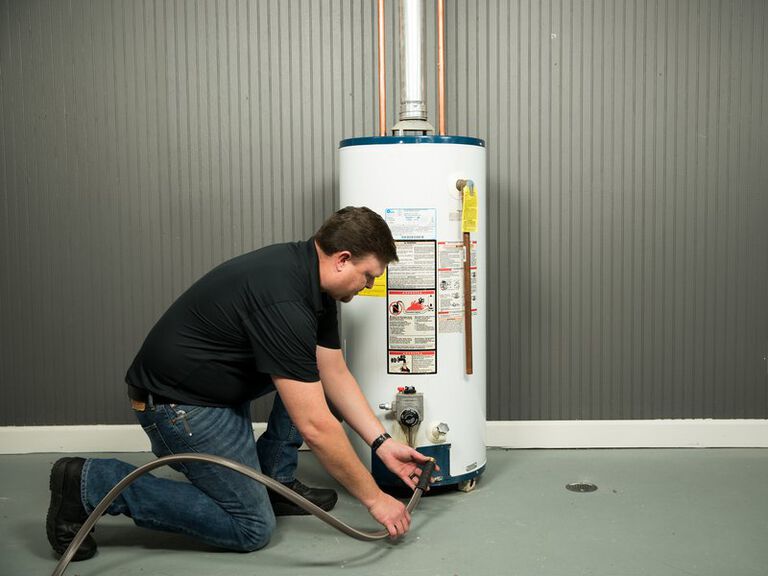
This image is only being used as example and may not reflect the specific unit or part that you may be troubleshooting.
Step 4: Drain the Tank, Then Disconnect Water and Gas Lines
Ensure the hose is secure on the drain valve, then turn it on to let all the water flow out of your water heater. For faster drainage, turn on a hot water tap inside your home. Next, disconnect water and gas lines with a wrench.
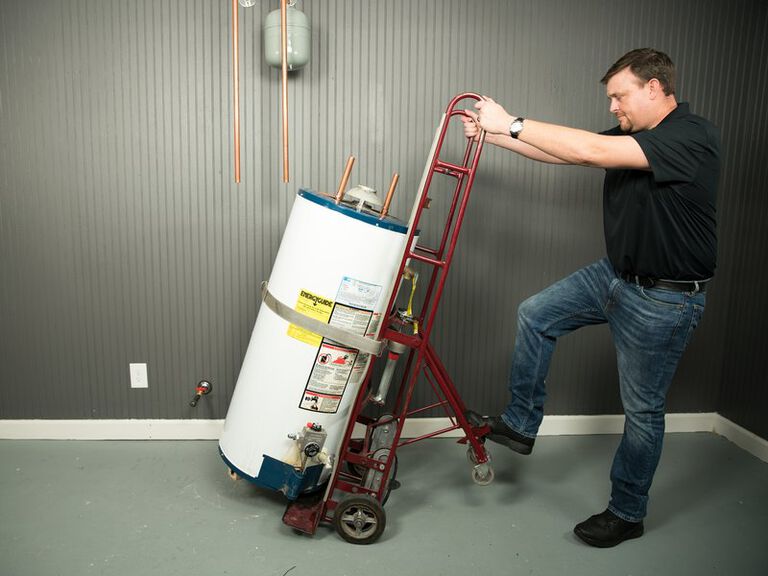
Step 5: Detach the Gas Exhaust, Then Remove and Dispose of the Old Heater
Let the gas exhaust pipe that vents the hot water heater cool down, then remove it from the draft hood. If necessary, prop or tie this pipe up to keep it in place for your new water heater installation. Place the old water heater on a hand truck or dolly, then remove it for proper disposal.

Find A Local Water Heater Pro
A. O. Smith water heaters are professionally installed by local independent contractors.
Steps For Installing a Gas Water Heater
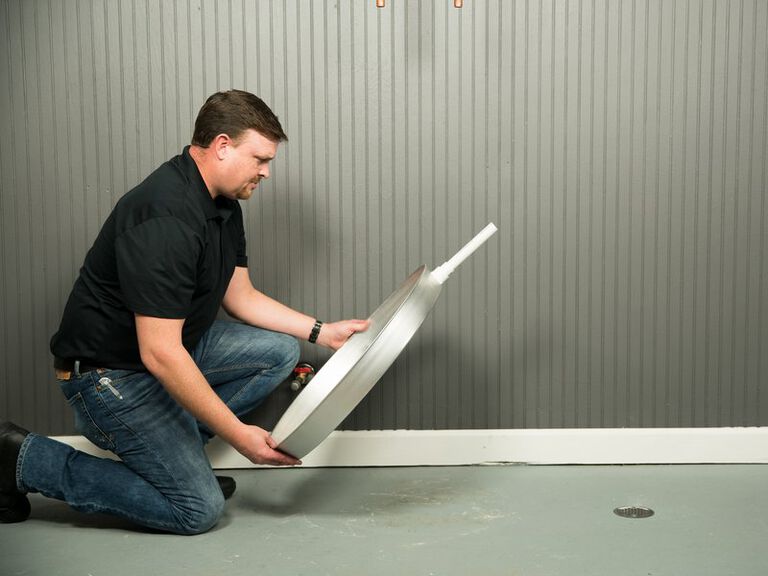
This image is only being used as example and may not reflect the specific unit or part that you may be troubleshooting.
Use this guide to install your new hot water heater. If you're unsure about working with gas, consult a professional who understands the complexities involved.
Step 1: Place and Level Water Heater
Install a metal drain pan that's at least 2 inches in diameter wider than your unit and no deeper than 1.75 inches. Place the water heater in the drain pan so you have ample room to examine beneath it as needed.
Step 2: Install Heat Trap Fittings and Connect Water Lines
Put all the heat trap fittings into place on the new water heater, then connect both the hot and cold water lines with 3/4-inch NPT threaded adapters. Make sure you have a properly sized and charged expansion tank if you have a closed plumbing system.
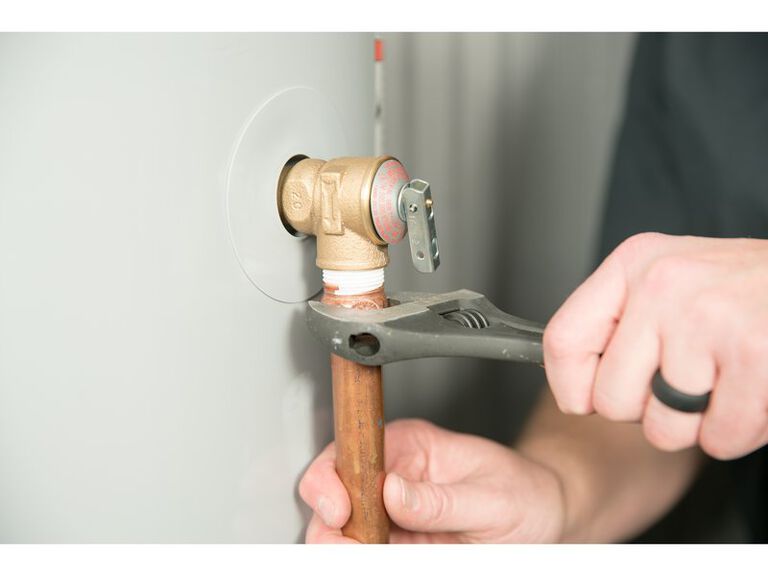
This image is only being used as example and may not reflect the specific unit or part that you may be troubleshooting.
Step 3: Install the Pressure Release Valve Discharge Line
Install a discharge pipe with 3/4-inch interior diameter, sloping it downward so it drains properly. End this pipe between 1 and 6 inches from a drain or an outside destination.
Step 4: Connect the Gas Supply Lines
Installation kits may come with flexible gas connectors. Use these to hook up gas lines to your water heater following the manufacturer's instructions. If you're unsure about working with gas lines, a professional installer may be your best bet.
Step 5: Turn On the Water, Fill Up the Tank, Purge Air and Check for Leaks
Fill up the tank to the top, then remove the aerator from the closest hot water tap and turn it on full blast. Let the water flow for 3 minutes to purge all air from the tank, and check the water connectors for any leaks while you wait.
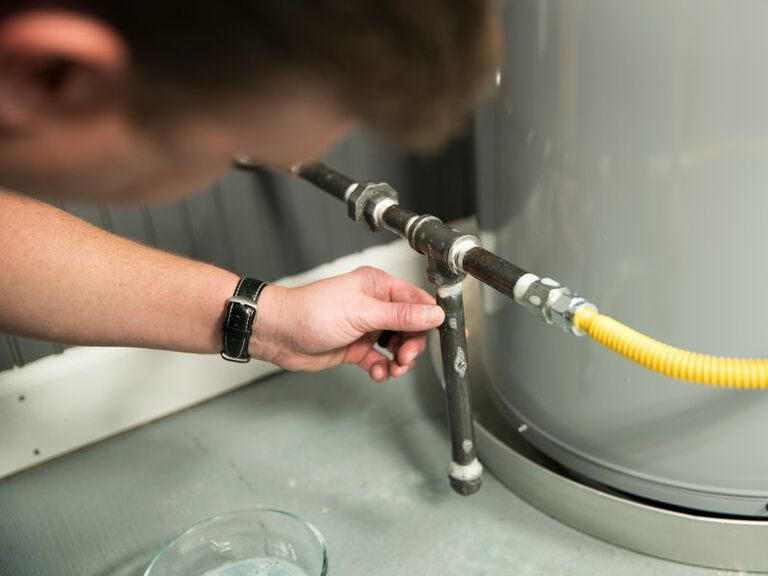
Step 6: Turn on the Gas and Carefully Check Fittings for Leaks
If everything looks good, turn the gas back on and check all the fittings for leaks. Do this by applying dish soap or bubble solution, then looking for bubbling at the connectors.
Step 7: Ignite the Pilot Light Using the Control Knob or a Small Flame
Turn the gas supply on, then use the control knob or a small flame to ignite the pilot light. When it's lit, the status light on your water heater should start blinking. Adjust the thermostat temperatures at this point and add tank insulation for energy efficiency and freeze prevention.
Find a Professional Installer Near You
Water heater installation may seem simple, but it can turn into a complex job if you don't have experience. You can ensure the process goes smoothly by choosing a local professional for water heater installation.
Get help with repairs, maintenance and full water heater replacements from a professional plumbing contractor near you.

Find A Local Water Heater Pro
A. O. Smith water heaters are professionally installed by local independent contractors.
Why A. O. Smith?

A. O. Smith is a leading manufacturer of both residential and commercial water heating technologies, including the #1 most specified commercial water heater.

For more than 145 years, we’ve developed state-of-the art products that push new boundaries and improve the lives of our customers.

We combine cutting-edge technology with committed people who take pride in providing the very best support for our customers.

Our products are put through rigorous quality and endurance testing so no matter where hot water is needed, A. O. Smith can provide a solution you can count on.